Uninstall the Kubernetes 2.0 Agent from OpsRamp Portal
- To select your client, navigate to All Clients, and click the Client/Partner dropdown menu.
- Navigate to Setup > Account to open the Account Details page.
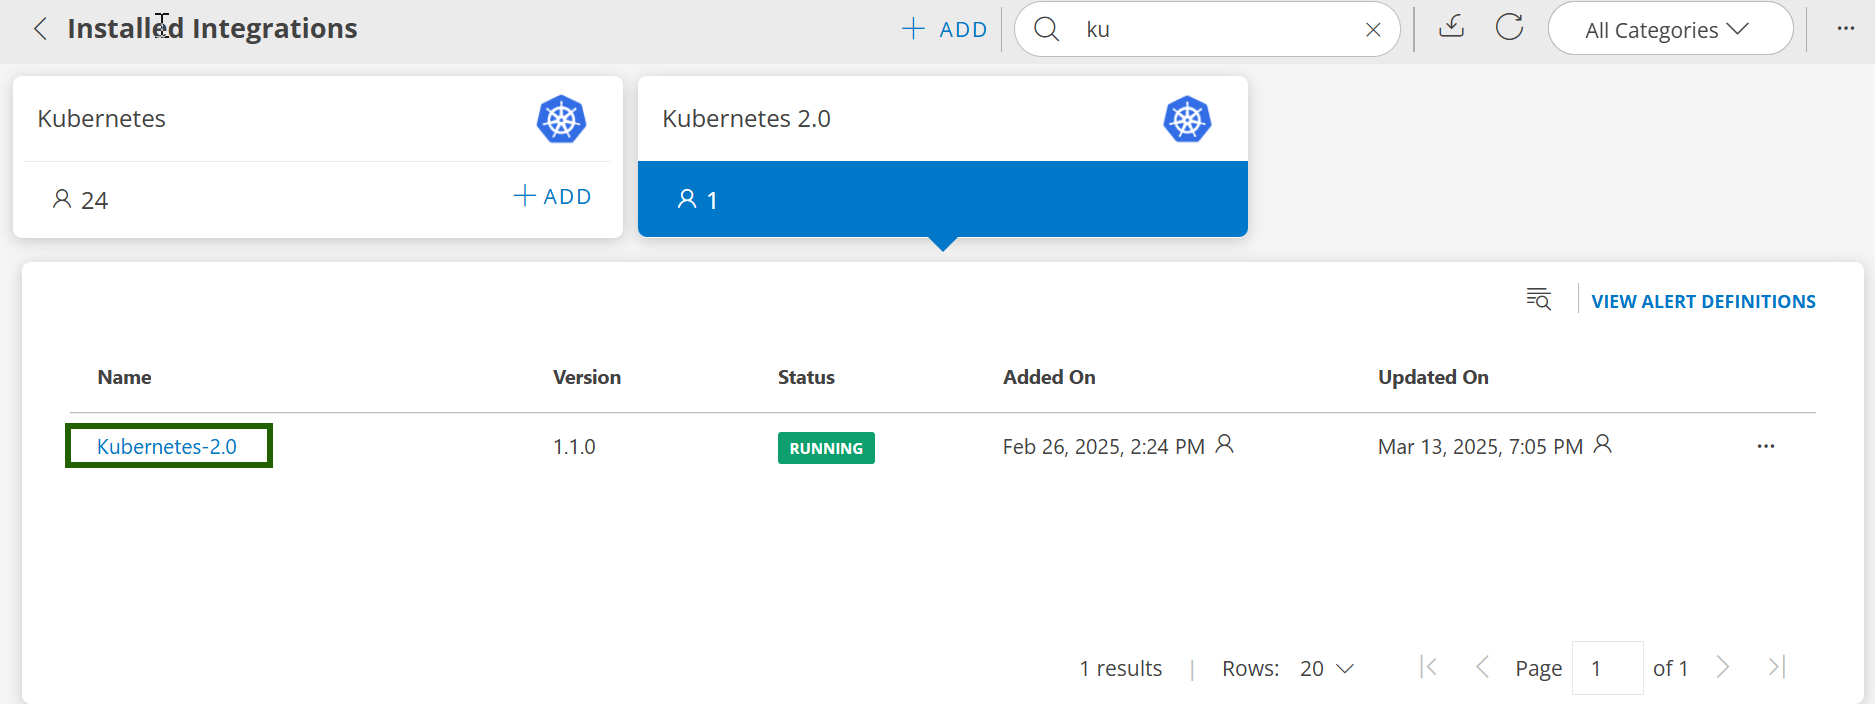
- Click on Integrations to view the Installed Integrations screen, which lists all installed applications.
- Click on Kubernetes 2.0 to access the detailed configuration page.
- Find the configuration you want to remove, click the three-dot menu (ellipsis) next to it, and click Remove.

- The configuration has now been removed.
This action uninstalls the Kubernetes 2.0 Agent from the OpsRamp portal, and the Agent Helm release will be automatically uninstalled.
Post-Uninstallation Information
- To re-install the agent in the same namespace as before, you can reuse the same Helm release name.
- To re-install the agent in a different namespace, use a different Helm release name.
- After uninstallation, five uninstall-related resources will remain, this is expected:
- RoleBinding:
opsramp-agent-uninstall-rb - Role:
opsramp-agent-uninstall-role - ClusterRoleBinding:
opsramp-agent-uninstall-crb - ClusterRole:
opsramp-agent-uninstall-cr - ServiceAccount:
opsramp-agent-uninstall-sa
- RoleBinding: