The OpsRamp’s Batch Export integration enables you to extract and store performance data from their IT environment. These metrics help track the health, availability, and efficiency of critical infrastructure components such as servers, applications, networks, and cloud resources.
The data is exported to external storage solutions like Amazon S3, Azure Blob Storage, enabling you to monitor performance trends over time, optimize resource utilization through data-driven insights. and integrate with external analytics tools for deeper analysis.
Install Batch Export integration
Here is how to configure a batch export for the Metrics category type.
To configure other types of export categories, refer Export Categories document for more details.
Navigate to Setup → Account. The Account Details screen is displayed.
Select the Integrations tile. The Installed Integrations screen is displayed, with all the installed applications.
If you do not have any installed applications, you will be navigated to the Available Integrations screen. The Available Integrations screen displays all the available applications along with the newly created application with the version. Note: Search for Batch Export application using the search option available. Alternatively, search for Exports from All Categories option and select it.
Click +ADD in Batch Export tile. The ADD BATCH EXPORT screen is displayed.
Enter the following basic details:GENERAL DETAILS
Field Name
Field Type
Description
Name
String
Unique name of the export.
Category Type
Dropdown
Type of data to export: Metrics.
Client
Dropdown
Select the client for whom you want to export the data.
Export to
Dropdown
Select the integration: AWS S3 or Blob Storage. If the integration is not available, you can create one:
Click anywhere in the dropdown and click +ADD. The ADD INTEGRATION window is displayed.
Select an Integration type from the dropdown and enter the required information in the fields.
For AWS S3:
Name: Name of the Integration.
Access Key ID: Unique identifier for the Amazon S3 bucket.
Secret access key: Key and secret generated from the portal.
Confirm Secret access key: Re-enter the secret access key.
Bucket Name: Name of the AWS S3 bucket for the export data.
Base URI: Data location in the AWS S3 bucket. Example: https://s3.regionName.amazonaws.com.
Click ADD. The integration is added.
For Blob Storage:
Name: Enter the integration name.
Storage account name: Azure Blob account name.
Secret access key: Access key generated from the portal.
Confirm Secret access key: Reenter the secret access key.
Container name: Name of the Azure container for the export data.
If you enable this option, you will receive a notification if the export fails.
SCHEDULE: Metric data will be exported every hour.
Click FINISH. The integration is installed.
If the provided information is correct, then the integration will be saved without any errors.
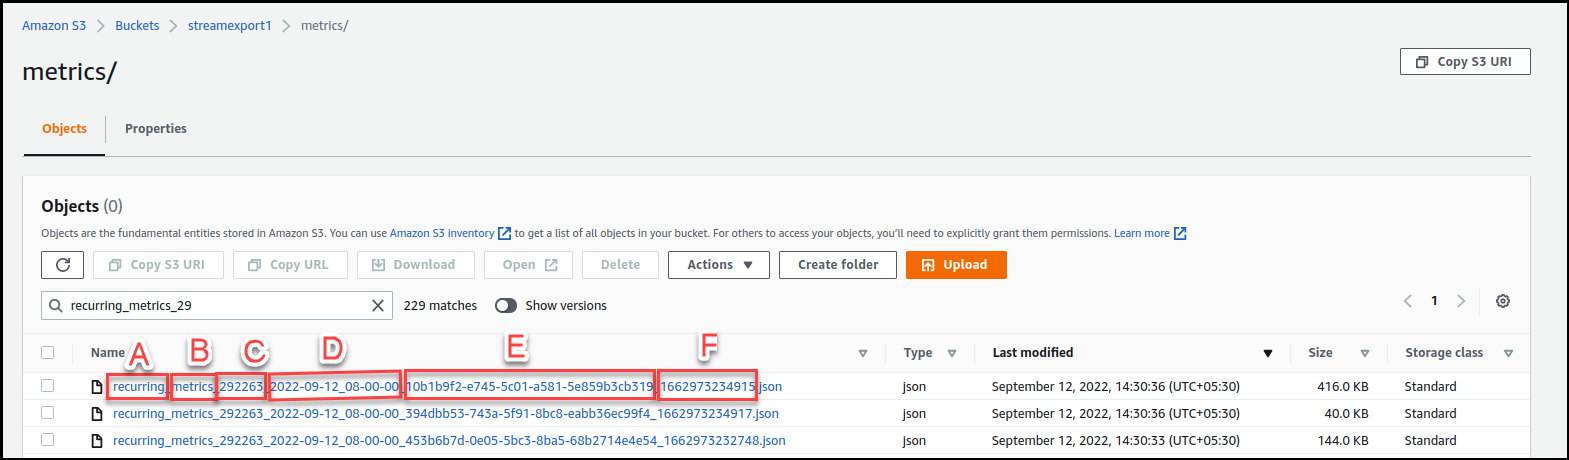
Note: The availability of metrics data on the configured buckets (AWS S3 or Azure blob storage) starts from the next hour. Example: If the request was made at 13:00 GMT, 13:20 GMT, or 13:40 GMT, the data would be available on AWS S3 or Azure blob storage after an hour (only after 1400 GMT).